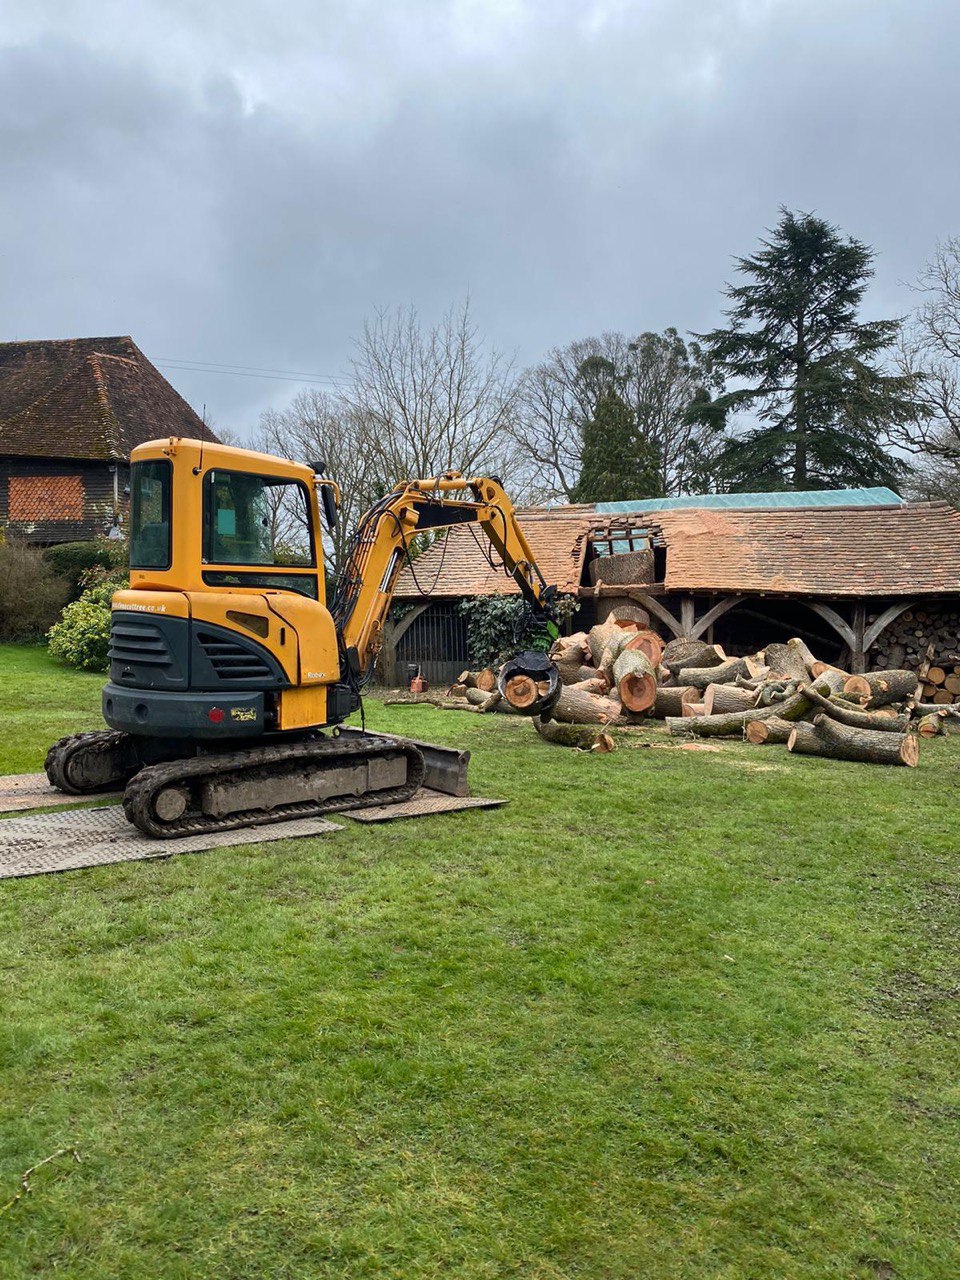
Introduction: Trees, with their beauty and ecological importance, are valuable assets to our landscapes. However, when a tree becomes dead or poses a hazard due to disease, damage, or instability, it’s crucial to address the situation promptly to ensure safety and protect your property. This guide will explore the steps and considerations for safely removing dead or hazardous trees.

- Assess the Tree’s Condition
Before taking any action, assessing the tree’s condition is essential. Look for signs of decline, such as:
Dead branches: If a significant portion of the tree’s branches lacks leaves or shows signs of decay, it may be a sign of poor health.
Leaning: Trees that lean significantly or have exposed roots may pose a risk of falling.
Cracks or cavities: Visible cracks or hollow areas in the trunk may weaken the tree’s structure.
Fungal growth: The presence of mushrooms or fungi on the tree’s trunk can indicate internal decay.
Disease or pest infestations: Chronic health issues or infestations can make a tree hazardous.
- Determine the Direction of Fall
Identifying the direction in which the tree should fall is crucial for safety. Consider factors such as:
Obstacles: Ensure no structures, vehicles, or people are in the tree’s potential fall path.
Wind: Be aware of wind direction and speed, which can affect the tree’s fall.
Gravity: Trees naturally tend to fall in the direction of their lean.
- Safety First
Safety should always be the top priority when dealing with tree removal. Follow these safety precautions:
Wear protective gear: Use safety goggles, a hard hat, ear protection, and appropriate clothing to protect yourself from debris.
Use the right tools: Ensure you have the necessary tools, such as a chainsaw, ropes, and rigging equipment, in good working condition.
Keep a safe distance: Maintain a safe distance from the falling tree and work with a partner who can monitor potential hazards.
- Plan the Cut
To control the direction of the tree’s fall, follow these steps:
Create a notch: Make a horizontal cut (the notch) on the side of the tree facing the desired fall direction. This notch should be one-third of the way through the tree.
Make the felling cut: On the opposite side of the notch, make a straight cut slightly above the bottom of the notch. This cut should be slightly sloped to guide the tree’s fall.
Retreat to safety: Once the felling cut is complete, quickly move to the opposite side of the escape route.
- Post-Removal Cleanup
After the tree is safely down, the work isn’t finished. Proper cleanup is crucial:
Remove debris: Cut the tree into manageable sections and remove them from the area.
Dispose of waste: Arrange for the disposal of the tree’s waste through recycling or composting.
Stump removal: Decide whether you want to remove the stump or leave it in place. Stump removal may be necessary if it poses a tripping hazard or you plan to replant in the same area.
- Professional Assistance
While smaller trees may be manageable for homeowners, removing large, hazardous trees is best left to professionals. Certified arborists and tree care specialists have the experience and equipment to handle the task safely and efficiently.
Conclusion: Removing dead or hazardous trees is a task that requires careful planning, safety precautions, and often professional expertise. Always prioritise safety and consider seeking professional assistance when dealing with large or complicated tree removals. By doing so, you can protect your property and ensure the well-being of your landscape.
Call us on: 01797 334532
Click here to find out more about New Romney Tree Surgeons
Click here to complete our contact form and see how we can help with your tree’s needs.